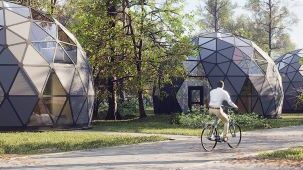
Looking for a flex home suitable for a full family that you can start building tomorrow? Domebuilders Europe develops and supplies demountable housing kits based on the Dome frame “COSMOS” from EkoDome (New-York, USA). This creates a high-quality house construction that provides space for two residential floors and 110m2 of living space. The homes are suitable for (temporary) construction from 5 to 25 years or longer and do not require a foundation!
About us
“If you can put together an IKEA cabinet, you can also build your own house,” is the idea with which Domebuilders Europe began developing this unique “prefabricated self-build home” in 2021.
The challenge was also to develop a flex home where family expansion for starters is not an immediate problem!
The result is a fully demountable home that is not only sustainable, but also very affordable.
The home meets the building code for temporary housing.
Self-assembly or assembly service?
It is possible to assemble our flex home yourself. The house comes as a kit. You just need to follow the instructions and assemble the parts.
But would you like to be helped, or would you prefer us to put up the house for you? That too is possible!
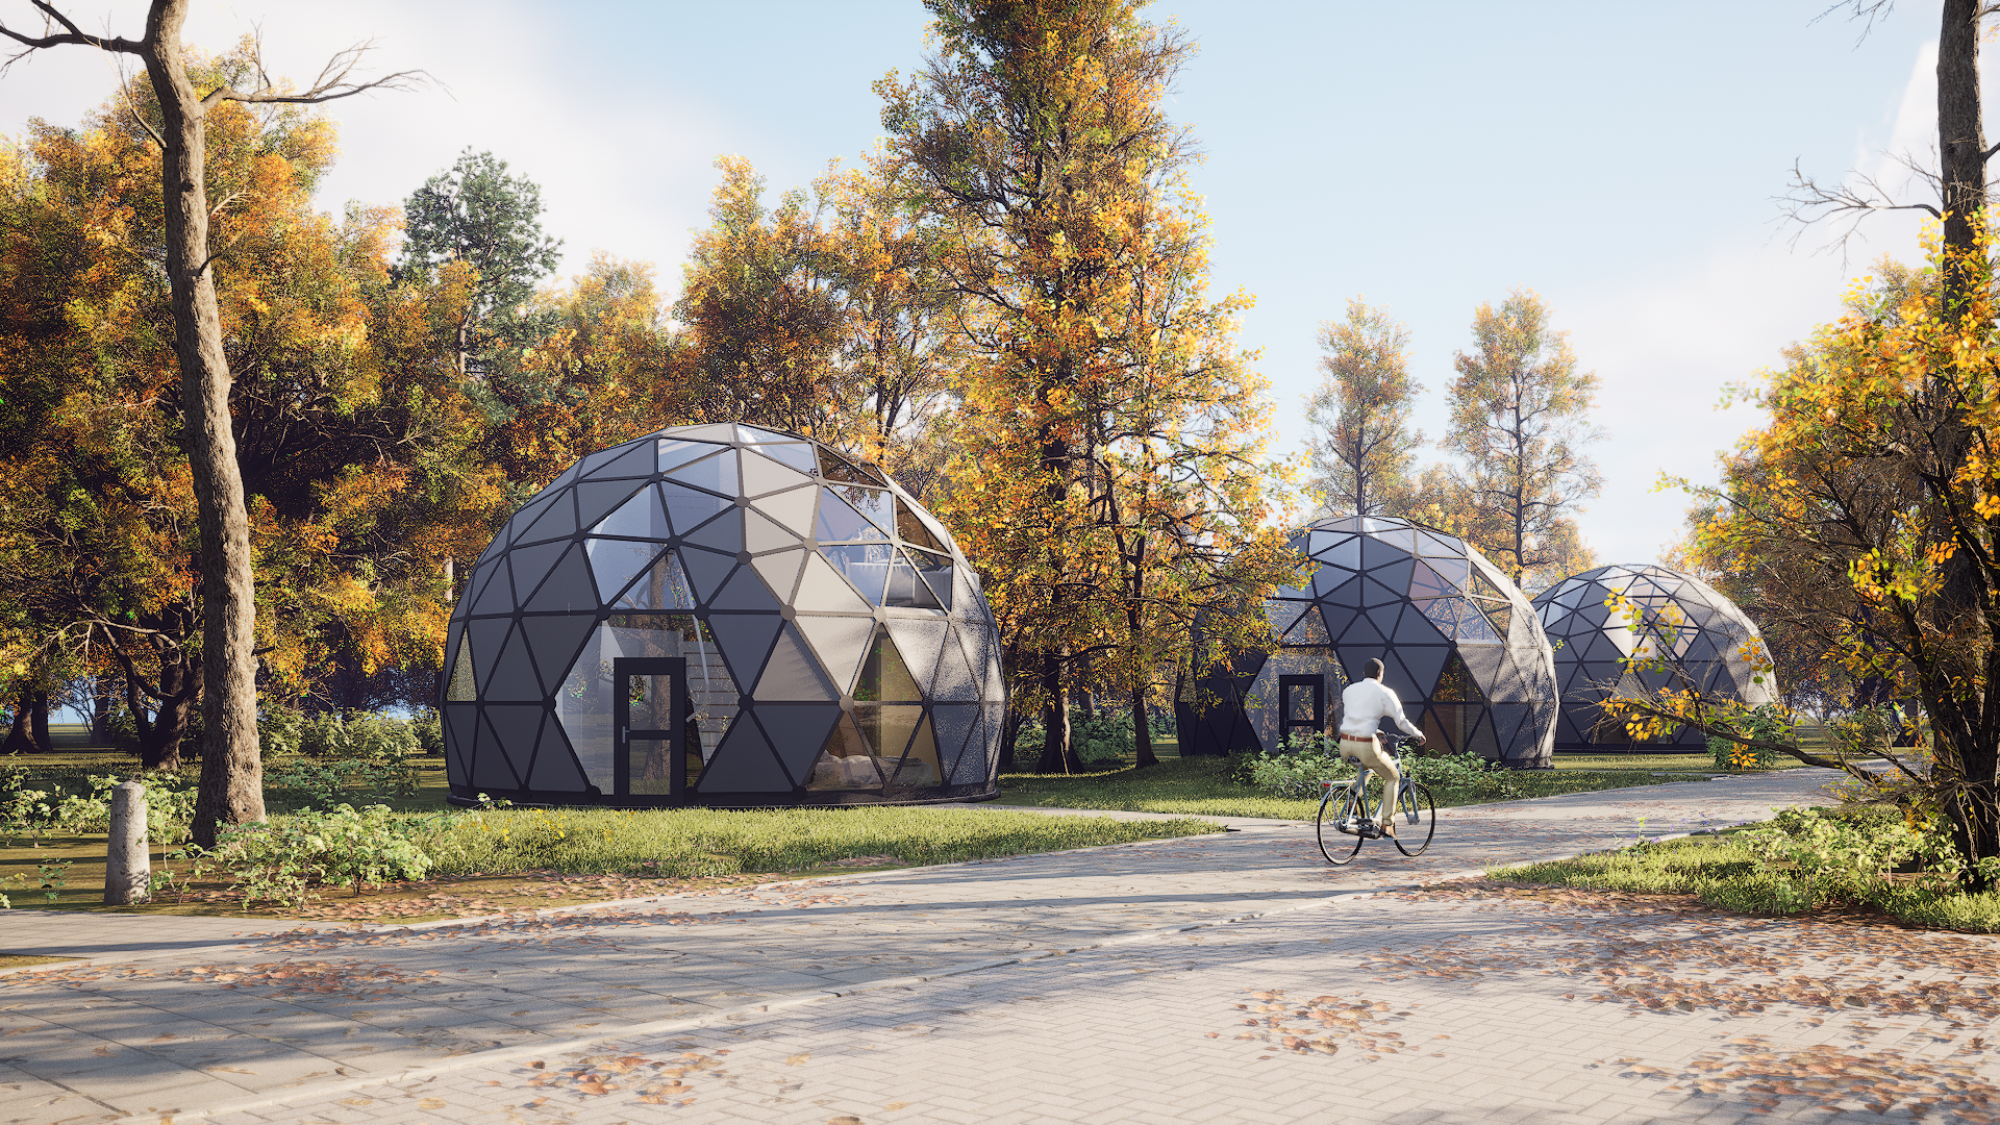
“Housing should be comfortable and affordable.”
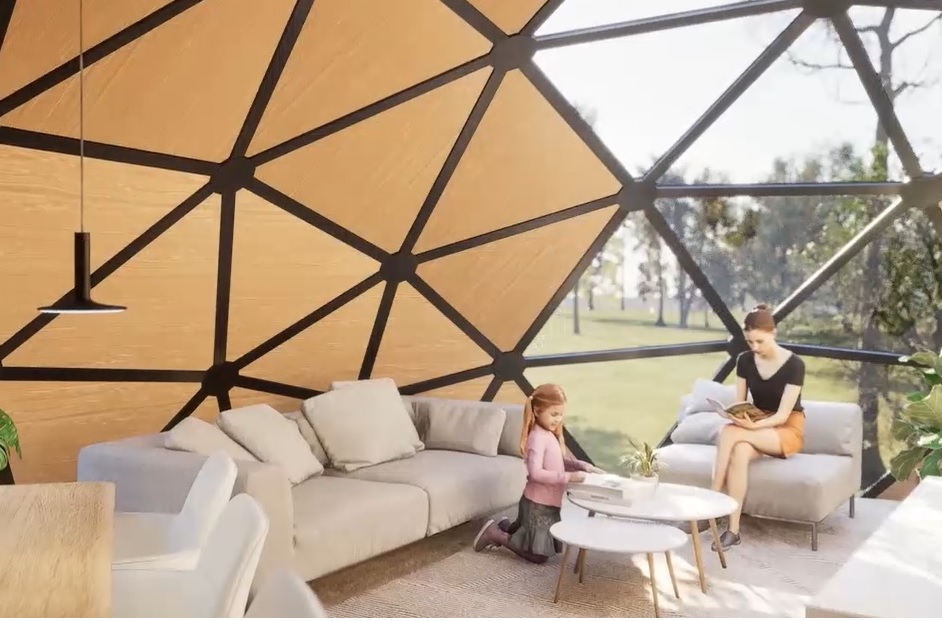
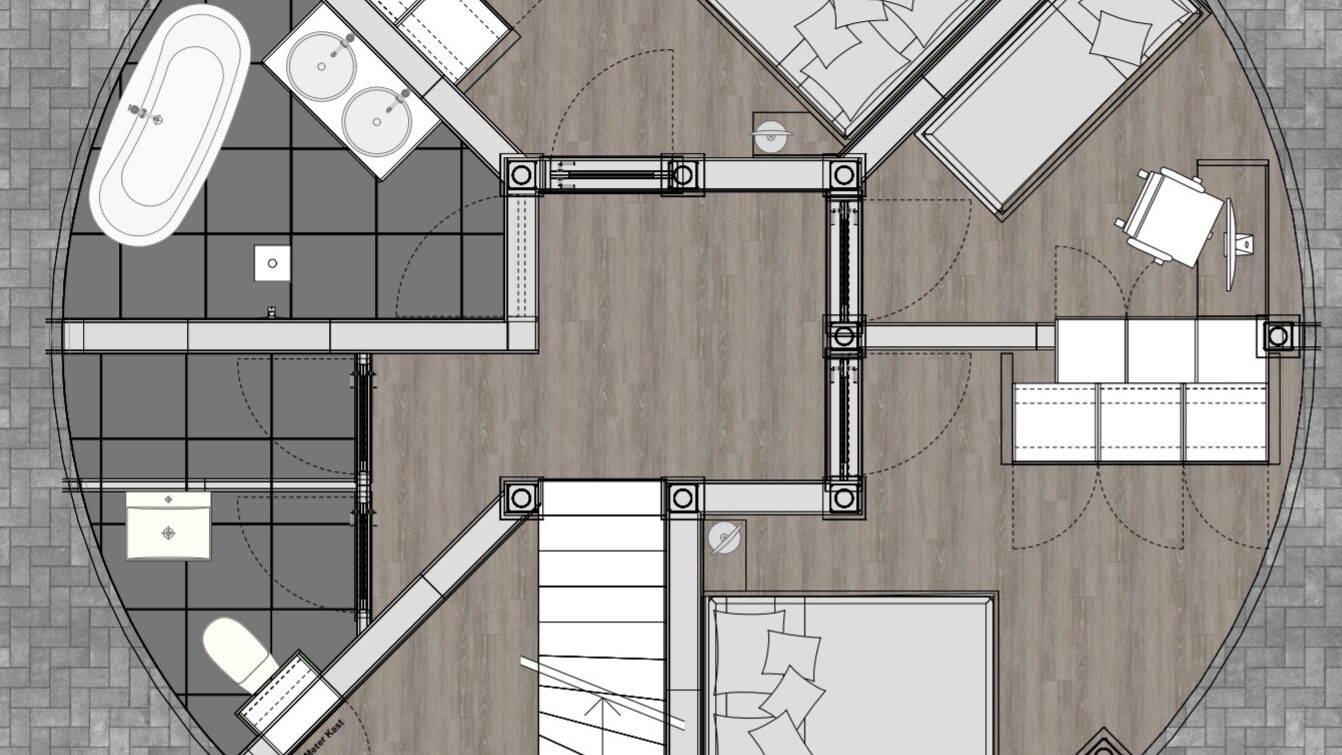
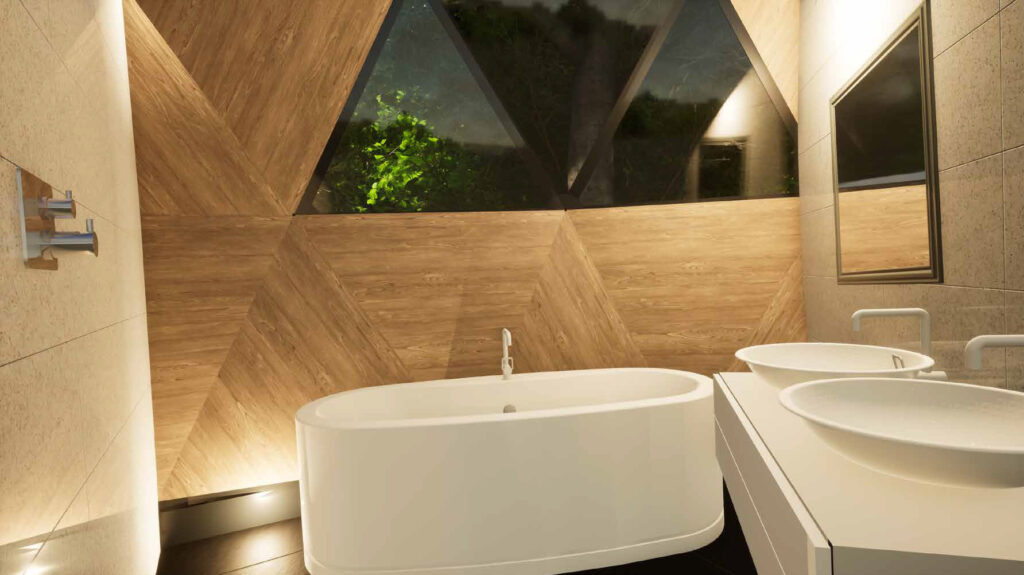
The wooden interior with exclusively finished walls with bamboo trim give a warm and cozy feeling. Expand the home with a wood-burning stove or a bathtub? No problem!
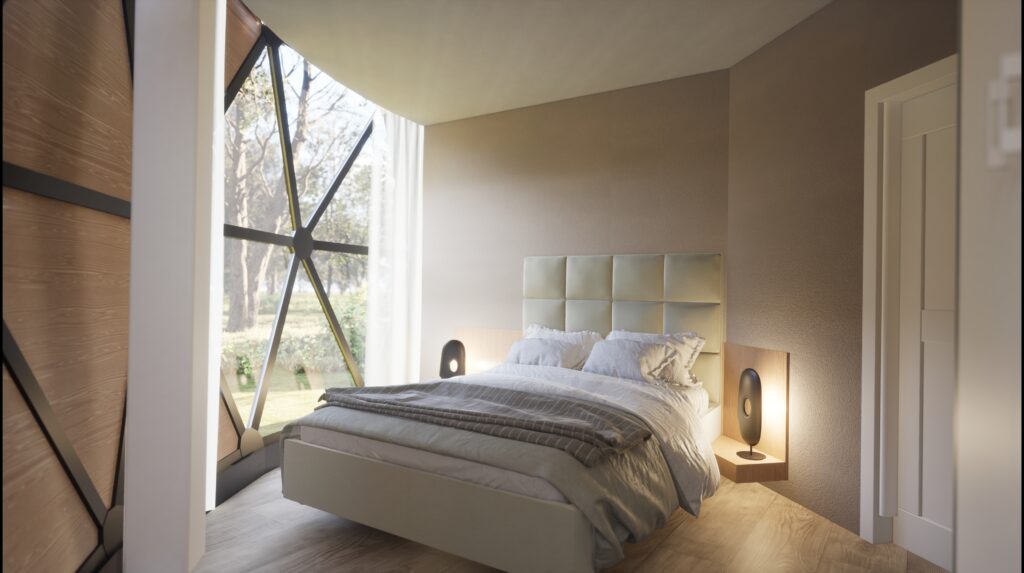
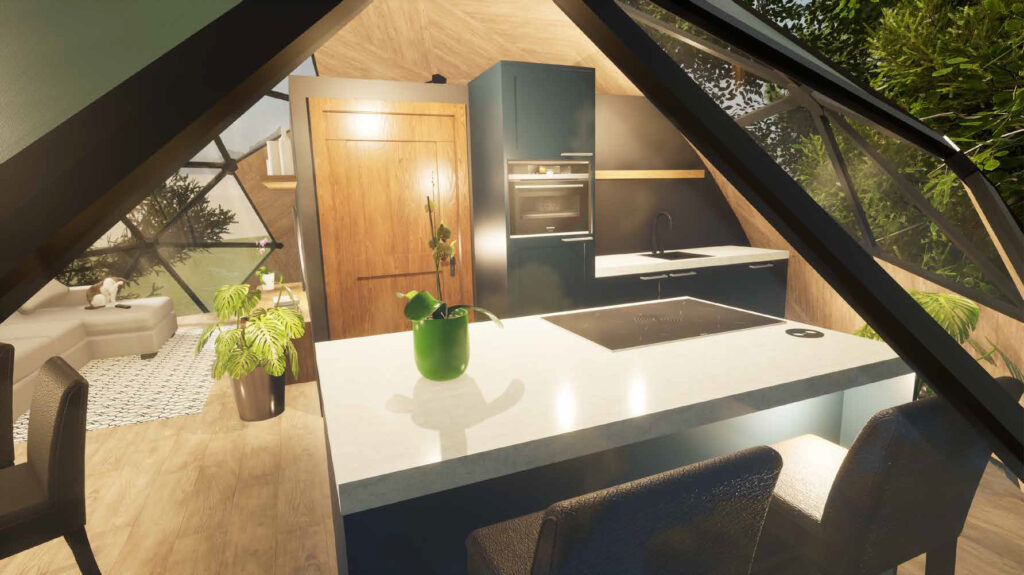
Impressions of our homes
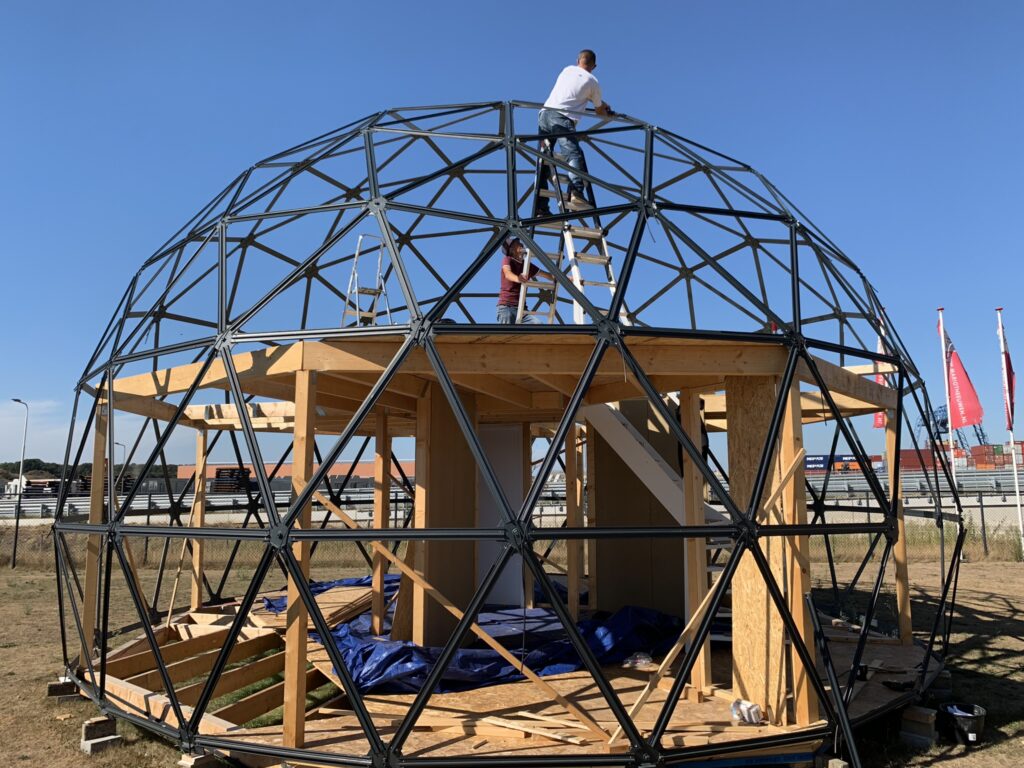
Building in steps
A dome house you build with two to three people in a short time! You can do this yourself, or request construction service from Domebuilders Europe. The DOme is then built for you.
To give an impression of the construction steps, we have made a brief summary of the comprehensive safety instructions and construction instructions with drawings below. Your tools will consist mainly of a screwdriver, a level or laser and a tape measure. All parts are cut to size and prepared for assembly according to the instructions.
- Plot the support points according to the drawing. Four support points in the shape of a square in the center, and 10 support points in a 9-meter diameter circle around the center;
- Bouw de vloercirkel op uit de metalen profielen en de hoofdliggers op alle draagpunten.
Dit is de basis voor de opbouw van de Dome, en de rest van de vloer waar het interieur op is gebouwd dus deze moet goed waterpas op alle steunpunten worden uitgelijnd!- Place the bottom plates between the hood beams so that the bottom of the floor is closed.
- Lay the flexible tubes for climate control and connections for power with the plug&play cables provided.
- Insulate the floor with the insulation provided, and close the floor with the floorboards according to the drawing.
- Now cover the floor of the ground floor with the floor siding to protect it from rain and damage.
- Construct the first two dome-frame circles. Follow the manual carefully. The dome now extends to the second floor.
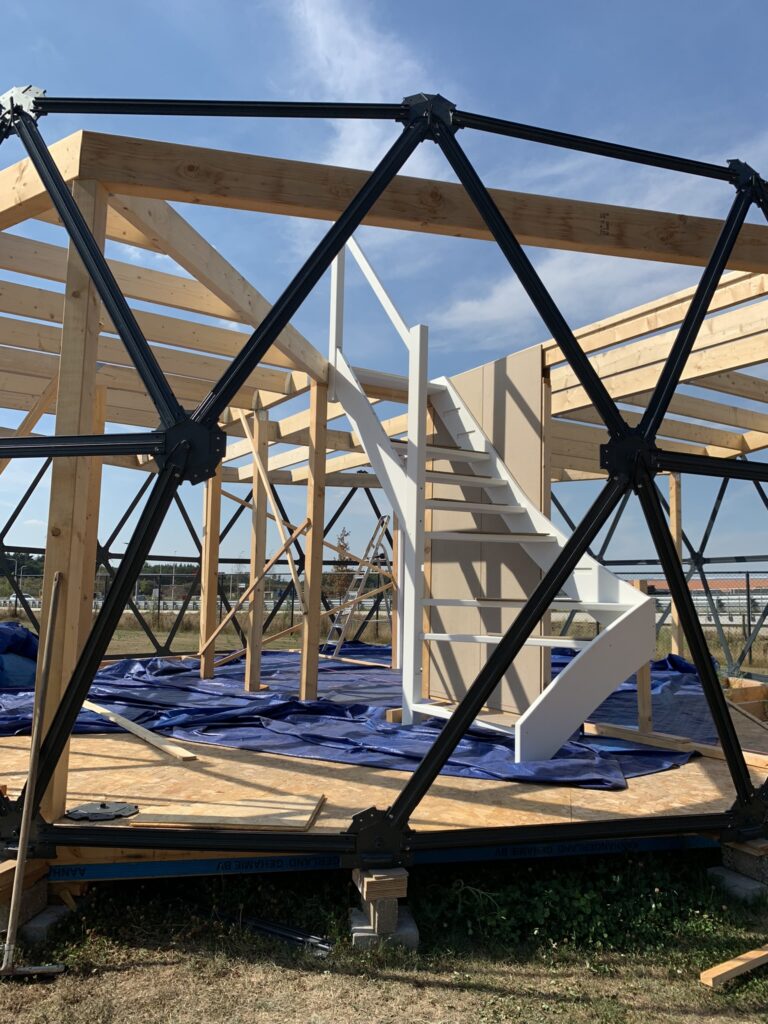
- Place the 8 vertical uprights in the outer circle and brace the uprights according to the drawing. Now place the eight main wooden beams between the uprights. These beams form the base of the first-floor floor.
- Place the four uprights of the corridor at the measured locations and brace them to the floor according to the instructions. Then connect the corridor uprights to each other with the support beams for the floor structure.
- Now close the floor structure with all the joists according to the construction manual.
- Assemble the stairs. Use the space you have on the ground floor wherever the stairs are to go so you can put the stairs in place and assemble them immediately after assembly.
- After all size checks and braces have been checked, you are ready to seal up the floor of the second floor:
- First lay a diagonal of two floorboards according to the drawing and start with the floorboard to the left of the stairs. The floor should be level with the dome joints and have a clearance of about 6 inches all around;
- When the floor is closed, cover the floor of the second floor with the floor siding to protect it from rain and damage;
- Finishing the floor we only do after we close the dome.
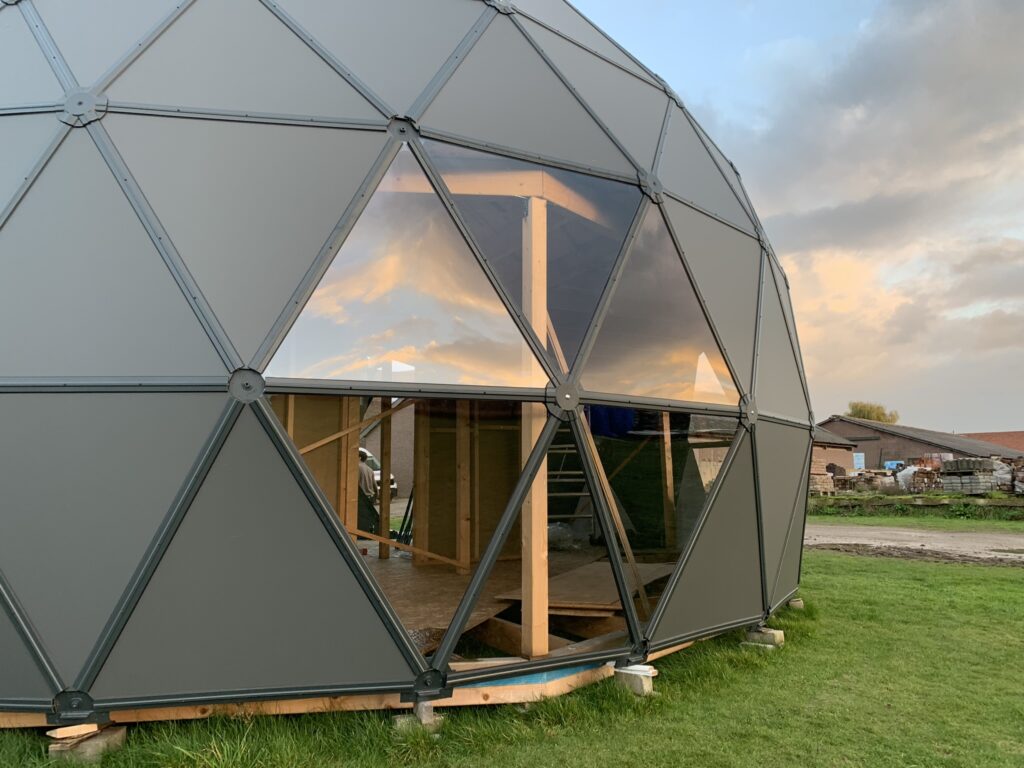
- Now build down the dome frame until it is completely closed;
- Assemble the panels and windows; start at the top and work down in a spiral shape; each time, make sure the covers are securely closed at the junctions with the EPDM seals.
- Assemble the door according to the instructions, and make the panels close around the door entrance;
- You now have a waterproof home and we are going to start installing the insulation!
- …….
Unleash your creativity!
0
Liever groter? of juist kleiner? een andere kamer indeling? Onze flexibele woningen zijn geschikt voor vele doeleinden. Laat je creativiteit de vrije loop en bespreek je wensen met ons. We gaan graag met je in gesprek over jou ideale woonwensen.Test